
使用ACDSee 对PNG透明背景批量调整大小,图片调整后,背景变为了白色,无奈只能自己写程序。
好,带控制台,直接替换原图,保持宽高约束比例。
pip install Pillow
from PIL import Image
import os
def resize_images(folder_path, new_width):
for filename in os.listdir(folder_path):
if filename.endswith('.png'):
img_path = os.path.join(folder_path, filename)
with Image.open(img_path) as img:
width_percent = (new_width / float(img.width))
new_height = int(float(img.height) * float(width_percent))
img_resized = img.resize((new_width, new_height), Image.LANCZOS)
# 保存调整大小后的图片覆盖原图
img_resized.save(img_path)
# 在控制台上打印处理进度
print(f"调整并保存了图片:{filename}")
# 指定文件夹名
folder_name = "正在进行"
# 指定新的宽度
new_width = 300
# 执行函数
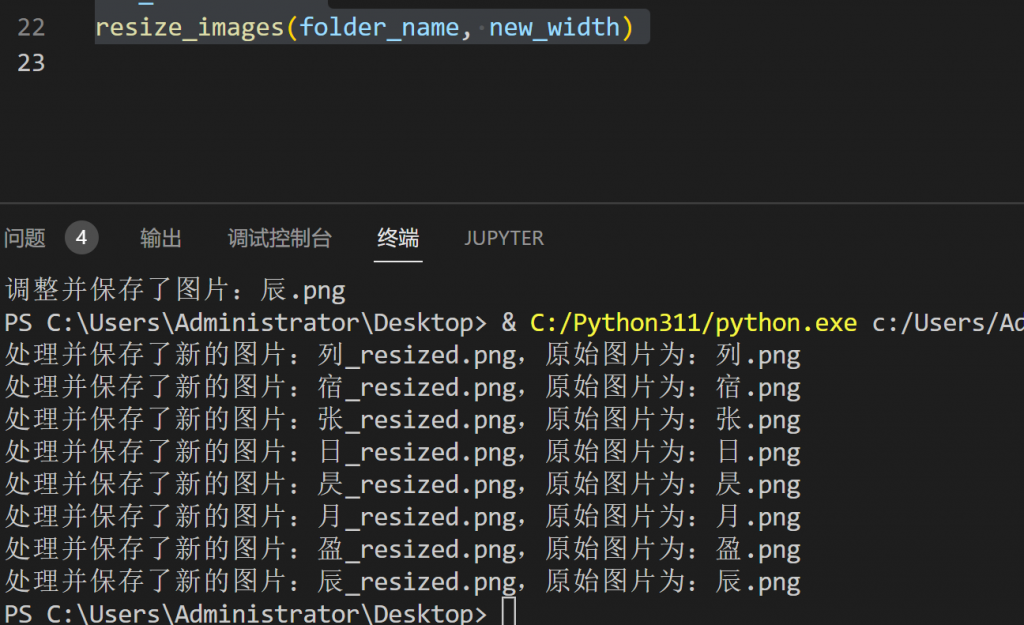
resize_images(folder_name, new_width)
不替换原图,后缀增加_resized,代码:
from PIL import Image
import os
def resize_images(folder_path, new_width):
    for filename in os.listdir(folder_path):
        if filename.endswith('.png'):
            img_path = os.path.join(folder_path, filename)
            with Image.open(img_path) as img:
                width_percent = (new_width / float(img.width))
                new_height = int(float(img.height) * float(width_percent))
                img_resized = img.resize((new_width, new_height), Image.LANCZOS)
                # 使用新的文件名保存调整大小后的图片,不覆盖原图
                new_filename = filename.rsplit('.', 1)[0] + "_resized.png"  # 例如: "image_resized.png"
                img_resized.save(os.path.join(folder_path, new_filename))
                # 在控制台上打印处理进度
                print(f"处理并保存了新的图片:{new_filename},原始图片为:{filename}")
folder_name = "正在进行"
new_width = 300
resize_images(folder_name, new_width)
from PIL import Image
import os
def resize_images(folder_name, width):
    # 列出文件夹中的所有.png文件,并获取它们的完整路径
    all_files = [os.path.join(folder_name, f) for f in os.listdir(folder_name) if f.endswith('.png')]
    for filepath in all_files:
        with Image.open(filepath) as img:
            # 计算新的高度以保持宽高比
            new_height = int((width / img.width) * img.height)
            #img_resized = img.resize((width, new_height), Image.ANTIALIAS)
            img_resized = img.resize((width, new_height), Image.LANCZOS)

            # 保存调整尺寸后的图片
            img_resized.save(filepath)
# 指定文件夹名
folder_name = "正在进行"
# 指定新的宽度
new_width = 300
# 执行函数
resize_images(folder_name, new_width)

END
如本资源侵犯了您的权益,请联系投诉邮箱admin@wmphp.com进行举报!我们将在收到邮件的1个小时内处理完毕。rnrn本站仅为平台,发布的资源均为用户投稿或转载!所有资源仅供参考学习使用,请在下载后的24小时内删除,禁止商用!rnrnWmphp.com(完美源码)助力正版,如您有自己的原创产品,可以联系客服投稿,代理出售!rnrnWmphp.com(完美源码)客服QQ:136882447rnrnWmphp.com(完美源码)商务电话(仅对企业客户/个人用户):15120086569 (微信同步)rnrn请注意:本站不提供任何免费的技术咨询服务,为了节约时间,下载前 请确认自己会技术
完美源码 » Python批量调整图片为300px
完美源码 » Python批量调整图片为300px